
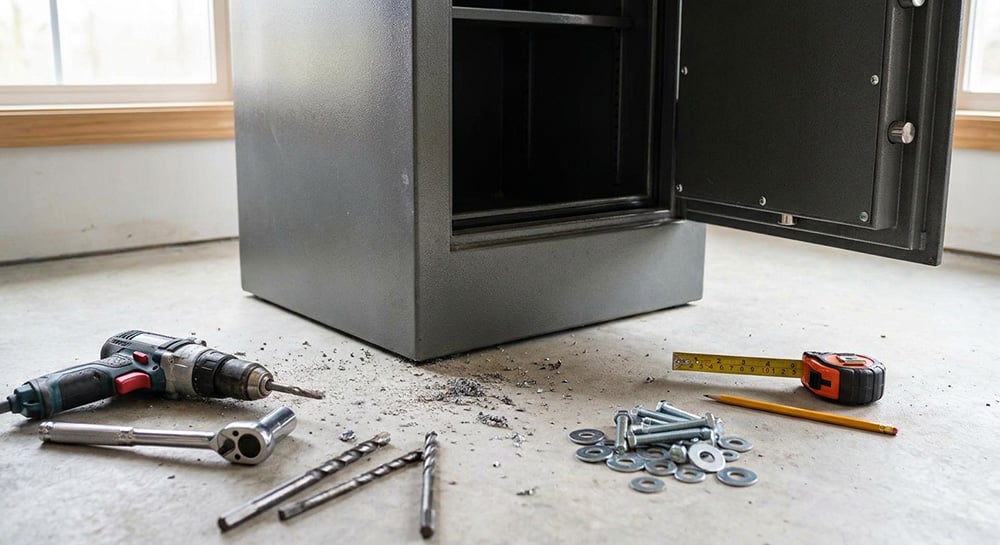
Installing your safe correctly is essential for protecting your valuables and ensuring your safe performs as intended. Even the most secure safe can become vulnerable if it isn’t fixed properly, which is why most home and office safes are designed to be bolted directly to a solid concrete floor.
A securely anchored safe is much more difficult for thieves to remove and may also be required to meet your insurance provider’s conditions.
In this guide, we’ll take you through the installation process step by step. If you’d rather see the installation in action, watch our video below before following the written instructions.
Before you start
Before purchasing or installing a safe, there are a few important things to check.
Check your insurance requirements
If you’re buying a safe to protect valuable possessions or important documents, contact your insurer before installation. Many insurance companies require the safe to be fixed securely to concrete or brick before they’ll provide cover. Some policies may also specify that the safe must be professionally installed.
Most Home and Office Safes include the necessary fixing bolts and clear installation instructions, making DIY installation straightforward. However, it’s always worth confirming your insurer’s requirements before you begin.
Choose the right location
Selecting the right position is just as important as the installation itself.
Choose a location that allows the safe door to open fully and provides easy access whenever you need it. While installing your safe in a discreet or concealed area can improve security, it shouldn’t make the safe difficult to use.
For the most secure installation, your safe should be fixed directly to a solid concrete floor. Concrete provides the strength needed to resist attempts to remove the safe and is the fixing surface recommended for most insurance-approved models.
Before drilling any holes, make sure there are no hidden electrical cables, water pipes or underfloor heating beneath the installation area.
What you’ll need
Most safes are supplied with heavy-duty anchor bolts, sometimes referred to as expansion bolts, which are specifically designed for securing the safe to concrete.
As the bolts are tightened, a metal sleeve expands inside the drilled hole, gripping the surrounding concrete to create a strong mechanical fixing that helps prevent the safe from being removed.
Alongside the supplied fixings, you’ll need:
- Hammer drill
- Masonry drill bits
- Pencil
- Tape measure
- Masking tape
- Hammer
- Socket wrench or spanner
- Vacuum or brush
- Sharp utility knife (if installing through carpet)
Tip: If you’re unsure about any stage of the installation, refer back to the video above to see each step demonstrated.
Step 1: Prepare the safe
Most freestanding safes have one or two pre-drilled fixing holes in the base. Many models also include fixing points in the rear, allowing them to be secured to a wall if required.
Before installation, remove any internal shelves or compartments that prevent access to the fixing holes.
Step 2: Position the safe
Move the safe into its chosen location and check that you’re happy with its position before marking the fixing points.
If you’re installing onto a carpeted floor, you’ll need to remove the section of carpet beneath the safe so that it sits directly on the concrete. Simply place the safe where it will be installed, carefully cut around the base using a sharp utility knife, then remove the unwanted section of carpet.
This allows the safe to sit flush against the concrete, providing a much more secure installation.
Step 3: Mark the drill holes
With the safe in position, use a pencil to mark the fixing holes through the base of the safe onto the concrete floor.
Once marked, move the safe out of the way so you have plenty of room to drill.
Step 4: Drill a pilot hole
Start with a small masonry drill bit, typically around 6mm, to create a pilot hole.
A smaller drill bit is less likely to slip across the concrete surface and provides an accurate guide for drilling the final hole. It’s always easier to enlarge a hole slightly than to correct one that’s too large.
Step 5: Drill to the correct depth
Measure the length of your anchor bolt and wrap a piece of masking tape around the drill bit to indicate the required drilling depth.
Next, switch to the correct size masonry drill bit. Your safe’s installation instructions should specify the required diameter. If not, simply measure the diameter of the supplied anchor bolt.
Drill each hole until you reach the tape marker before repeating the process for any remaining fixing points.
Step 6: Clean the drill holes
Concrete dust left inside the drilled holes can affect how well the anchor bolts expand.
Use a vacuum cleaner or brush to remove any loose debris before checking that each bolt slides easily into the hole. If necessary, carefully widen the hole very slightly using the drill.
Taking a few extra minutes here will help achieve the strongest possible fixing.
Step 7: Secure the safe
Move the safe back into position, ensuring the fixing holes line up correctly with the drilled holes in the floor.
Insert each anchor bolt through the base of the safe. A gentle tap with a hammer may help seat the bolt fully before tightening it with a socket wrench or spanner.
As each bolt is tightened, the metal sleeve expands inside the concrete, locking the safe securely into place. Continue tightening until all the fixings are fully secure.
Bolting your safe directly to a solid concrete floor significantly increases its resistance to theft and helps ensure it provides the level of protection it was designed to offer.
Step 8: Check the installation
Once all the bolts have been tightened, test the safe carefully.
There should be no movement whatsoever. If the safe rocks or shifts, continue tightening the bolts until it sits firmly against the floor.
A properly installed safe leaves no gap underneath where a crowbar or prising tool could be inserted.
Finally, replace any internal shelving or accessories that were removed before installation.
A safe installation you can rely on
Taking the time to install your safe correctly is one of the most important steps in protecting your valuables. A securely fixed safe offers greater resistance against theft, helps satisfy many insurance requirements and provides peace of mind that your belongings are properly protected.
If you’re still choosing the right model, explore our range of Home Safes, Fireproof Safes and Insurance-Approved Safes. Many include fixing bolts and clear installation instructions, making it easy to secure your safe with confidence.
Browse our range of Floor Safes to find the right solution for your home or business: Floor Safes


